Torque Calculations

The 5th Edition of AWWA M11 Pipe Design Clarified #3

The 5th Edition of AWWA M11 (AWWA 2017) has been available for over a year and the benefits to engineers have been recognized for the additional value it has created for steel pipe design.  There were numerous changes and additions that are intended to clarify important criteria and procedures when designing steel water pipe.


The nature of engineering design is that the knowledge used to design large facilities is learned and remembered mostly during the work on a project.  This series of articles will highlight many of the major changes in the new AWWA M11.


One of STI/SPFA’s goals with our expert’s design tips is to point out important changes in the new edition of AWWA M11 and to provide background of why such revisions were made.  Steel pipe systems have been designed, fabricated, and installed with decades of experience, achieving reliable and long-lasting operational service, while establishing proven safety factors that the engineering community has trusted.  This article will review torque calculations as they apply to AWWA C207 flanges and will discuss the new AWWA web-based interactive tool for performing flange bolt torque calculations.


Background


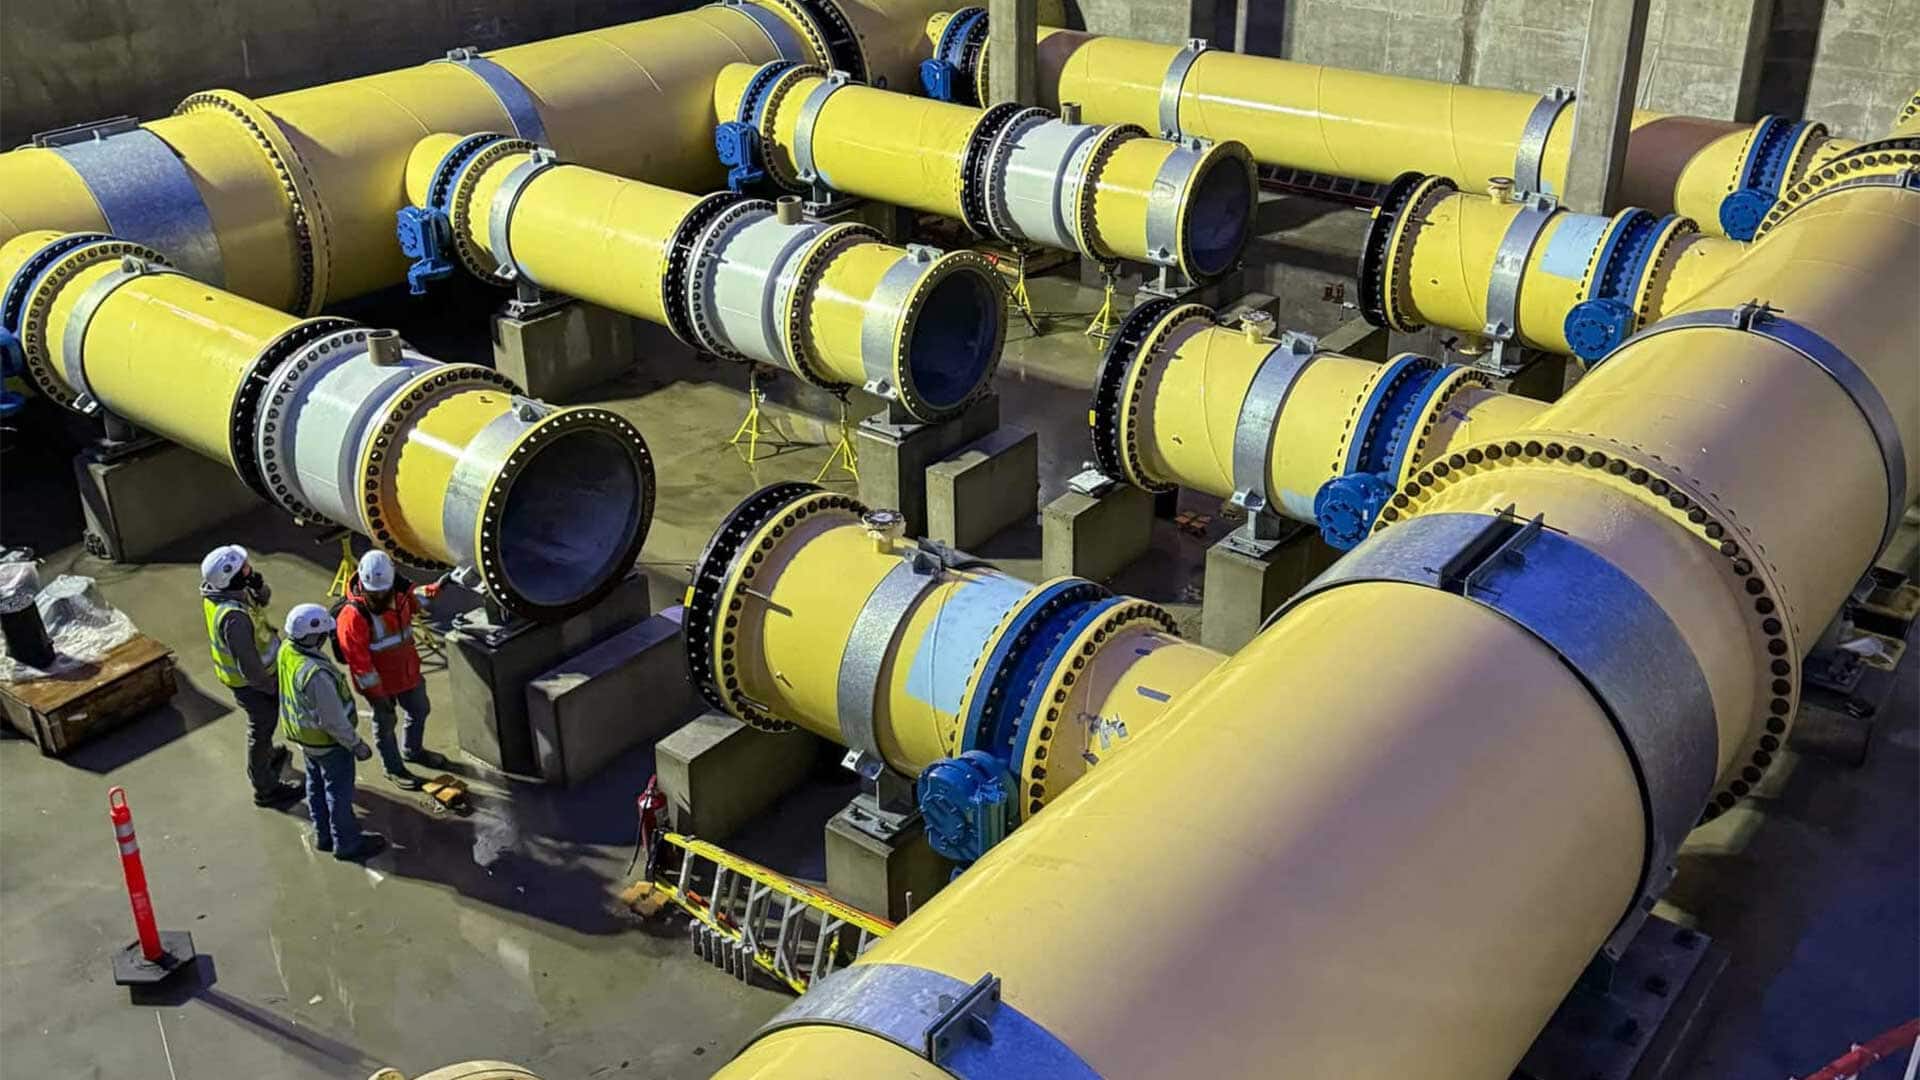
The success of flanged joints depends on applying the correct amount of gasket load and achieving uniform load around the joint.  AWWA C207-18 (AWWA 2018) states that flanges are to be flat faced, without projection or raised face with a serrated concentric or spiral finish.  Gasket material may be either elastomeric (rubber), compressed fiber or PTFE (polytetrafluoroethylene).  Bolting material shall be ASTM A193 grade B7 with ASTM A194 grade 2H heavy hex nuts for bolts larger than 1 in. and ASTM A563 heavy hex nuts for bolts 1 in. and smaller.


Gasket Load


Gaskets seal flange joints as they are compressed between the flange faces with enough load to prevent the contained fluid from passing through the joint.  Insufficient compression can result in a pathway opening across the faces allowing leakage and expressive compression can result in pinching or crushing of the gasket and possibly leakage.  Desirable gasket load is generated by tightening the bolts in a controlled and uniform manner.  By convention and design, bolting of gasketed flanges is carried out to achieve a stress of approximately 50 percent of bolt material yield strength, but higher or lower bolt loading may be required to achieve proper gasket seating or prevent gasket crushing.  The sum of the bolt loads in the joint divided by the contact area of the gasket with the flange equals the gasket stress.


Gasket relaxation is another factor that is considered during the loading.  When gasket materials are first put under load, they initially resist compression.  When initially loaded, gaskets tend to flow away from the pressure, the relaxing of the material can reduce the bolt load until the gasket reaches a stable density.  This generally happens with a few hours of loading and can be a cause of joint leakage.  To compensate for relaxation, a “check pass” to retighten the bolts is often recommended after the gasket has been given time to relax after the recommended torque has been applied to the bolts. 


Bolt Load


It is the bolt load that compresses the gasket and seals the flanged joint.  However, it is not just how tight the bolts are, but also how consistently they are loaded.  The intent is not just to achieve enough load but also to minimize variations among the bolts.  A complication to achieving uniform tightness is that bolts act like interactive springs in the joint.  Tightening any one bolt will change the effective load of the nearby bolts.  No matter how accurately torque or tension is initially applied to any single bolt, a subsequent retightening of all the bolts must be done to even out the load.  A further complication is that although bolts react quickly and completely as loads shift during tightening, soft gasket materials do not exhibit similar resilience.  Care must be taken to not overcompress the gasket because it may not spring back to fill the void if the load under any one bolt is reduced.  That is the reason for gradually increasing the bolt load in stages to the final load.  In order to even out these loads, bolts are tightened in a specific sequence using gradually increasing steps to achieve the final tightness.


AWWA C604-17 (AWWA 2017a) provides guidance on various tightening patterns that can be used.  Figure 1 is an example of one of these patterns.  Whichever pattern is chosen, it should accomplish several interrelated goals to:

  • Apply sufficient bolt stress to maintain a leak-free connection
  • Achieve uniform bolt stress and therefore uniform gasket stress around the flange
  • Maintain parallel closure of the flanges during tightening
  • Minimize excessive loading/unloading of the gasket during tightening
  • Avoid overcompression or crushing of the gasket
  • Reduce torque tool movements to improve efficiency
  • Be simple to implement for the assemblers


Since the load applied to the flanged joint by the bolts is difficult to measure directly, torque is used as a convenient way to approximate the desired load.  Load is achieved by a controlled turning force (torque) applied to the bolt head or nut.  Torque is the product of a force times the distance over which it is applied.  Torque is developed by the turning of threaded nuts and bolts that require surfaces to slide past one another.  To accurately convert torque into load, the friction that exists between the sliding surfaces must be known.  Friction is reduced by the application of a lubricant.  It may take three times the torque to achieve the same bolt load with a dry fastener as with one that has been lubricated.


Nut-and-bolt assemblies have two sliding surfaces: (1) the mating threads and (2) the face of the bolt head or nut where it contacts the flange.  Therefore, the amount of force necessary to tighten to a given load value depends on the friction between the two surfaces.  The applied torque must overcome three resistant forces:  bolt stretch, thread friction and face friction.
 

Figure 1 – Bolt Tightening Pattern from AWWA C604-17


To simplify this calculation, a formula that combines these three resisting forces into a single empirical variable, K, referred to as a “nut factor” was developed and is used in the following simplified torque/load formula cited in ASME PCC-1, appendix K (ASME 2013).

Where:

= torque—the turning force required, ft-lb

= nut factor—how hard it is to turn, expressed as a decimal

Ds = nominal diameter of the stud, in.

= load desired in the stud, lb

is an empirical value related to the total resistance, derived experimentally by applying tightening torque to a bolt of a given nominal diameter in a scale device and observing the resultant load.


is dependent on several factors such as temperature, type of lubricant, and quantity and application of lubricant to sliding surfaces, bolt diameter, thread pitch, fastener condition, and the applied load.  Experience has shown the use of a nut factor to be for all intents and purposes as reliable and accurate as the more complex torque formula, and it can be relied on to produce acceptable results if consistently applied. Once determined, it is then applied generally to bolts of the same grade and diameter to relate torque to load. At normal assembly temperatures with standard bolts, the derivation of can be simplified by adding 0.04 to the lubricant’s coefficient of friction, µ (Bickford 1995). Coating or plating of bolts will also result in different friction conditions and therefore different torque requirements that for uncoated fasteners.


Suggested Values for K

AWWA M11 5th Edition states that tests conducted by Brown et al. (2006) showed that average values for several copper-, nickel-, molybdenum-, and graphite-based antiseize lubricants on standard ASTM A193 grade B7 studs were in a consistent range from 0.16 to 0.18, regardless of assembly temperatures ranging from 23ºF to 105ºF. Consensus figures from multiple sources place the K value for petroleum-based lubricants such as SAE 20 oil at approximately 0.19 and for machine oil at approximately 0.21. Although dry alloy steel exhibit a rather wide scatter of values, a K value of 0.30 has been successfully used. Testing by Cooper and Heartwell (2011) demonstrated that the presence of a through- hardened washer under the nut or bolt head has as great a positive effect on reducing overall friction as the use of a lubricant. The conclusion being that a hardened washer should be used under all turning nuts both to reduce required torque and to improve consistency of load among the bolts.


Torque Calculations

The recently published, AWWA Manual M11, Steel Pipe-A Guide for Design and Installation, 5th Edition included a reference to an AWWA web-based interactive tool to do the torque calculations based on user input. The interactive tool can be found at www.awwa.org/TorqueCalc. A screen shot view is shown in Figure 2.

The Torque Calculation Tool includes the following User Instructions:

  1. Select or enter Calculation Input values in each of the red highlighted fields
  2. Select “Flange Class” and “Nominal Flange Diameter”
  3. If the finished flange face ID is known, enter it in the Finished Seating Face ID box. Otherwise leave the box blank (ID assumed for the calculation is shown in the Calculation Data)
  4. Select “Gasket Style” and “Gasket Material”
  5. Input nut factor (based on lubricant friction factor)
  6. Once all red highlighted fields are filled out, select the CALCULATE button
  7. Review guidance found in the “Recommended Ranges”

The user can select from AWWA C207 flange classes, gasket materials, and flange diameters. Based on the user’s input, the torque calculator generates a recommended torque range to select the appropriate torque value for the application. It also offers warning to the user if they have a potential of either crushing the gasket with too high of a load or not getting enough load to seat the gasket with their selected inputs.


Figure 2 – AWWA Interactive Torque Calculation Tool


References


ASME (The American Society of Mechanical Engineers).  (2013) Guidelines for 
    Pressure Boundary Bolted Flange Joint Assembly, ASME PCC-1-2013, ASME,
    New York, NY.
AWWA (American Water Works Association).  (2017) Steel Pipe – A Guide for Design
    and Installation, AWWA Manual of Water Supply Practices M11. Fifth Edition.

    AWWA, Denver, CO.
AWWA (American Water Works Association).  (2017a) Installation of Buried Steel 
    Water Pipe – 4 In. (100mm) and Larger,
 ANSI/AWWA C604-17.  Denver, CO.
AWWA (American Water Works Association).  (2018) Steel Pipe Flanges for 
    Waterworks Service, Sizes 4 In. Through 144 In. (100 mm Through 3,600 mm),

    ANSI/AWWA C207-13. AWWA, Denver, CO.
Bickford, J.  H. (1995).  An Introduction to the Design and Behavior of Bolted Joints.
    Boca Raton, FL.  CRC Press.
Brown, W., L.  Marchand, and T.  LaFrance (2006).  Bolt Anti-Seize Performance in a
    Process Plant Environment,
 New York, NY.  ASME Pressure Vessel Research
    Council, PVP2006-ICPVT11-93072.
Cooper, W. and T.  Heartwell (2011).  Variables Affecting Nut Factors for Field 
    Assembled Joints.
  New York, NY.  ASME Pressure Vessels and Piping 
    Conference, PVP2011-57197.

Featured Affiliate

SSAB

SSAB Americas is one of the largest North American producers of quality steel plate and coil, serving industrial markets including energy and transportation.

www.ssab.com

“STI/SPFA has allowed us to network and forge relationships that were not previously established. The benefits have been rewarding!”

Cindy Patton
Seal for Life Industries

Log In